- The distributed Hadoop file system can not only retrieve data from flat files but also my structured as well as unstructured sources.
- Today we will exchange( import and export both) data between MySQL and Hadoop.
- Step 1 – First load data into MySQL from some external source
- Connect to the Ambari Sandbox using ‘maria_dev’ credentials
- Now use the wget command to download a SQL script which creates a database and puts data into respective tables
- wget https://s3.amazonaws.com/testbucket786786/movielens.sql
-
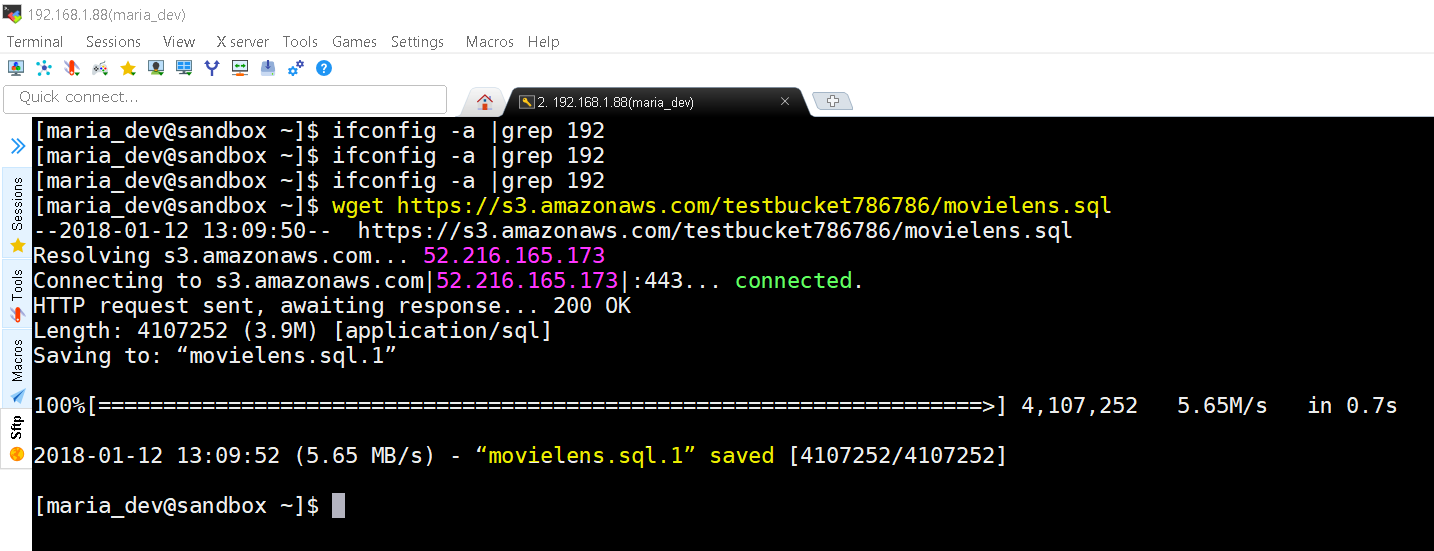
movielens.sql downloaded from https://s3.amazonaws.com/testbucket786786 - in Ambari MySQL in already pre-installed, if not you might need to install MySQL first. The credentials of pre-installed MySQL in Ambari/HortonWorks is root with password hadoop.
- Let’s connect to MySQL and create a ‘movielens’ database and run our SQL script to create all the tables and data for this exercise.
-
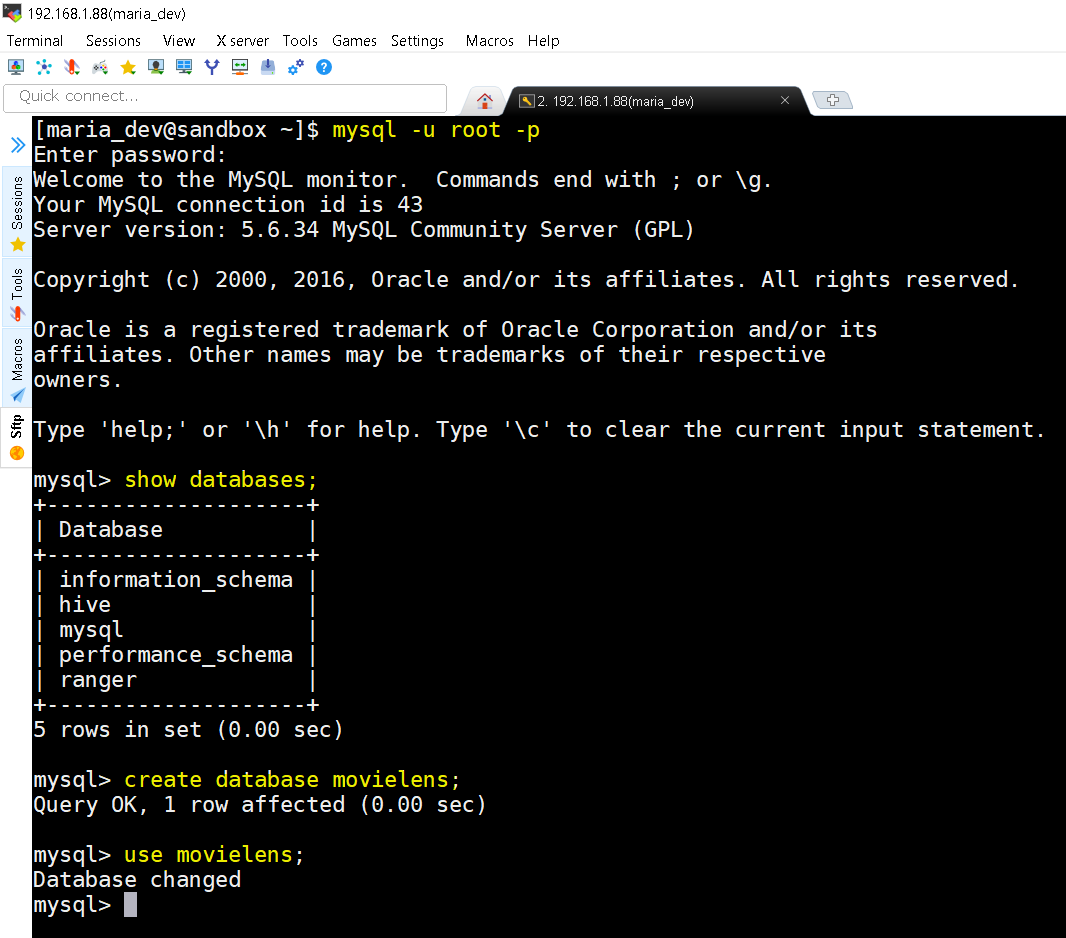
mysql -u root -p command prompts you to enter password to connect to MySQL then you check the list of databases using show databases command. Now create a database movielens using command create database movielens and finally switch to that database using command use movielens. - Now lets execute the downloaded SQL script to generate the data.
-
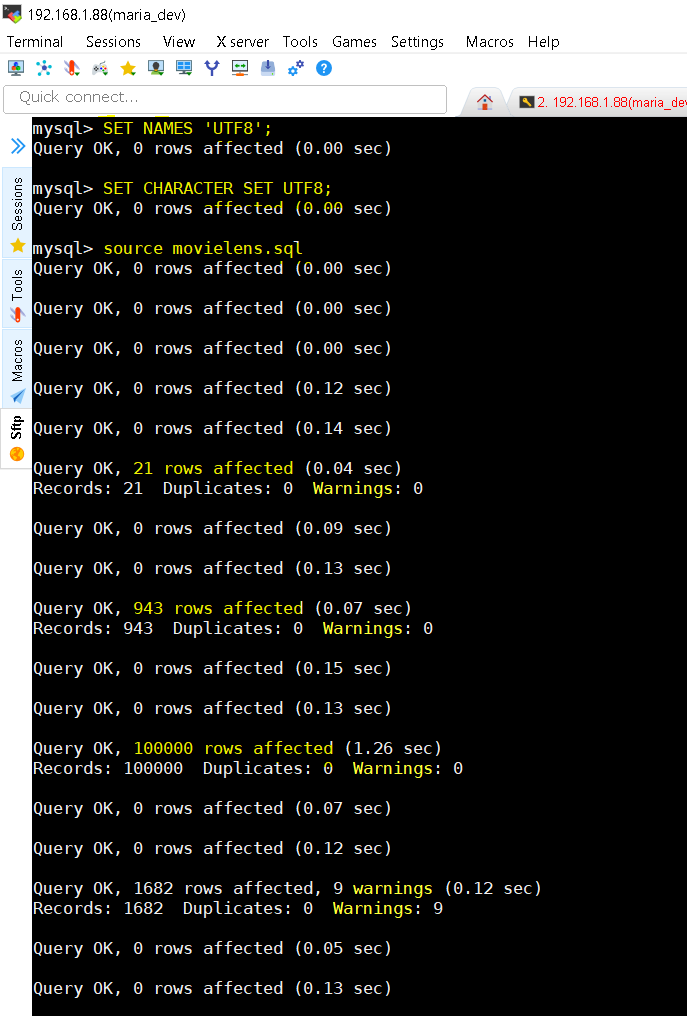
You should set the names and character set to UTF8 because it might contain UTF8 characters too. Use commands – set NAMES ‘UTF8’ and set CHARACTER SET UTF8. Then finally execute the downloaded SQL script to generate tables and data as source movielens.sql; - Verify that now SQL has data needed and run a SQL query to check for the MostRated Movie.
-
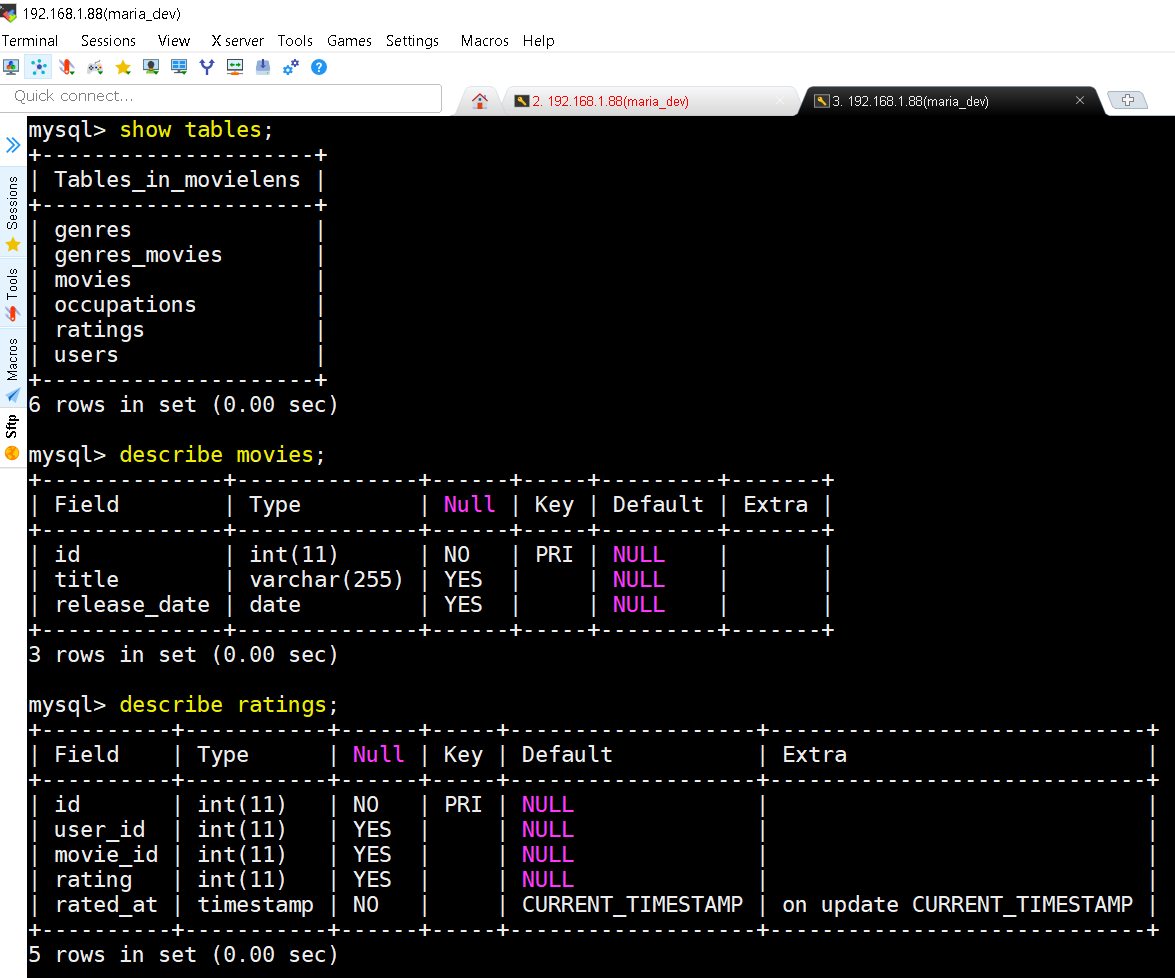
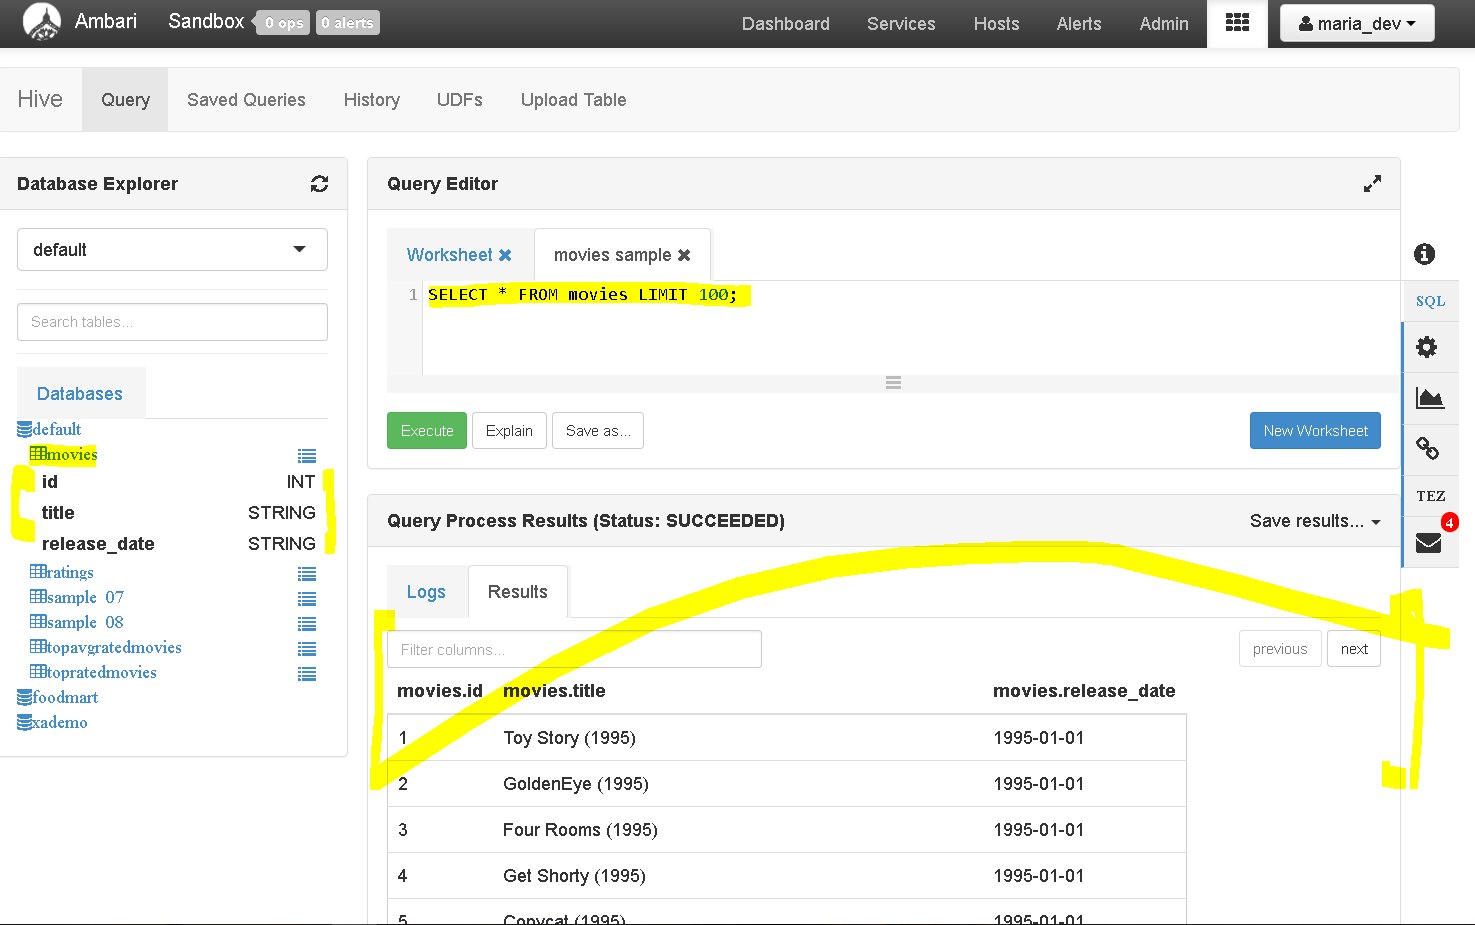
show tables; command shows list of all tables in the database. describe movies; command show the schema of the table movies and so on. -
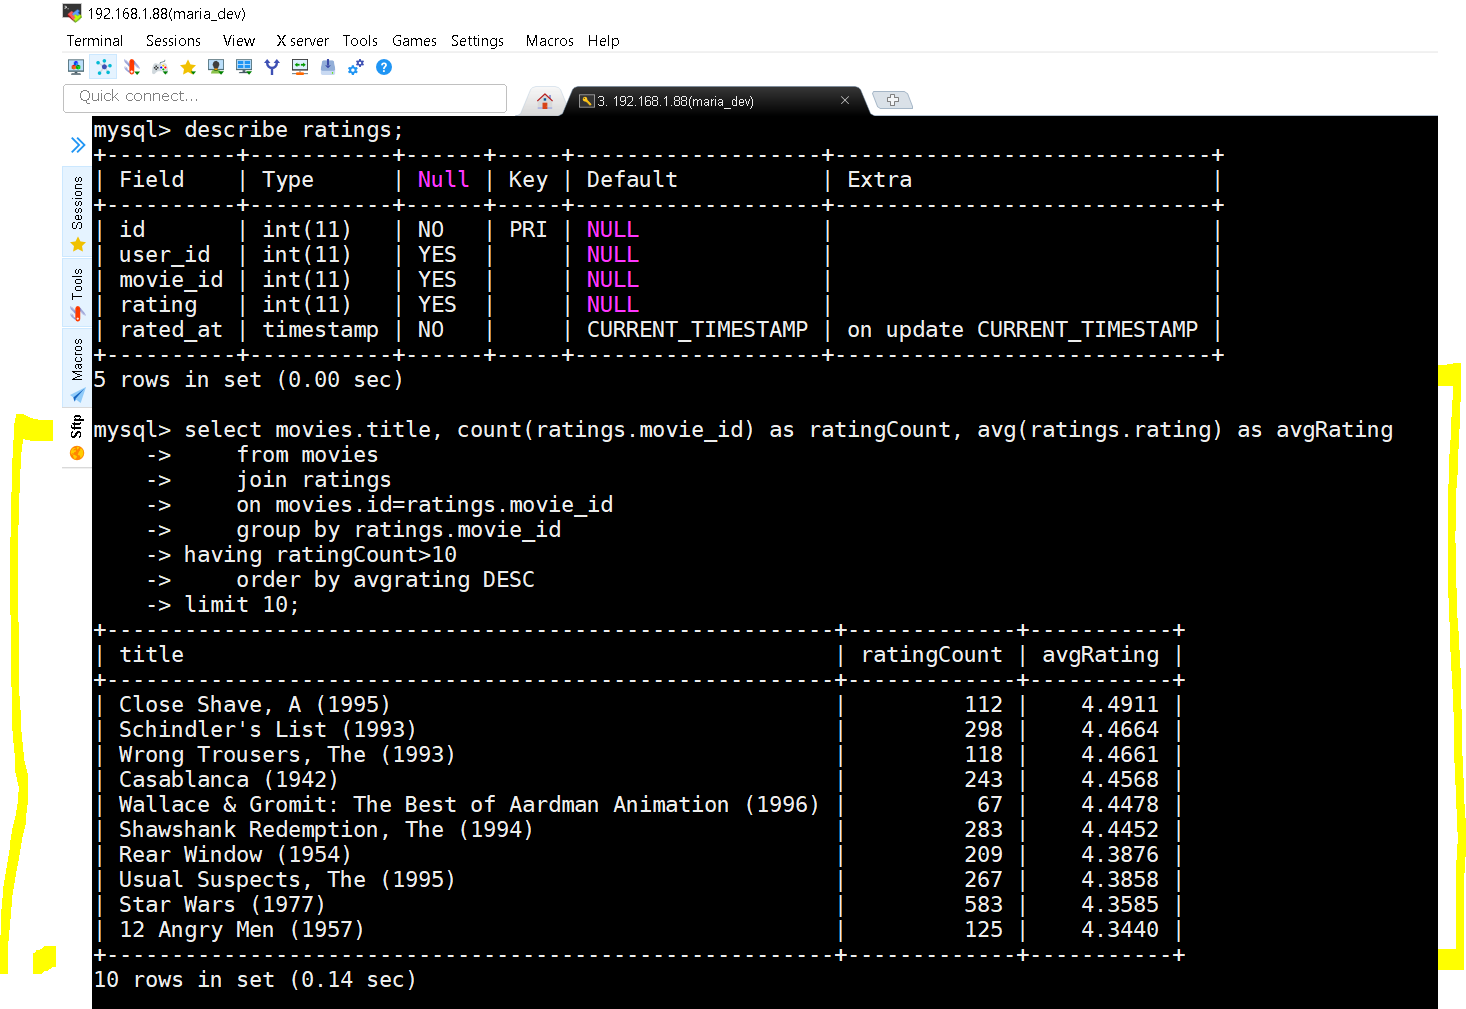
The query and the results
select movies.title, count(ratings.movie_id) as ratingCount, avg(ratings.rating) as avgRatingselect movies.title, count(ratings.movie_id) as ratingCount, avg(ratings.rating) as avgRating from movies join ratings on movies.id=ratings.movie_id group by ratings.movie_id having ratingCount>10 order by avgrating DESC limit 10;
- Step 2 : Import Data from MySQL to HDFS
- We use Sqoop Import Command for importing data into HDFS
- First Important step – grant all privileges on movielens database. Run this command on MySQL and then exit the MySQL shell using exit command
- grant all privileges on movielens.* to ”@’localhost’;
- Command breakdown is like this –
- sqoop import –connect jdbc:mysql://localhost/movielens –driver com.mysql.jdbc.Driver –table moviestab -m 1
- –connect jdbc:mysql://localhost/movielens species your MySQL database connection
- –driver com.mysql.jdbc.Driver – species the driver
- –table moviestab speciesfies which table to export
- -m 1 – specifies that we want to use only one mapper. For large datasets we can use more.
-

Scoop Import in action. -
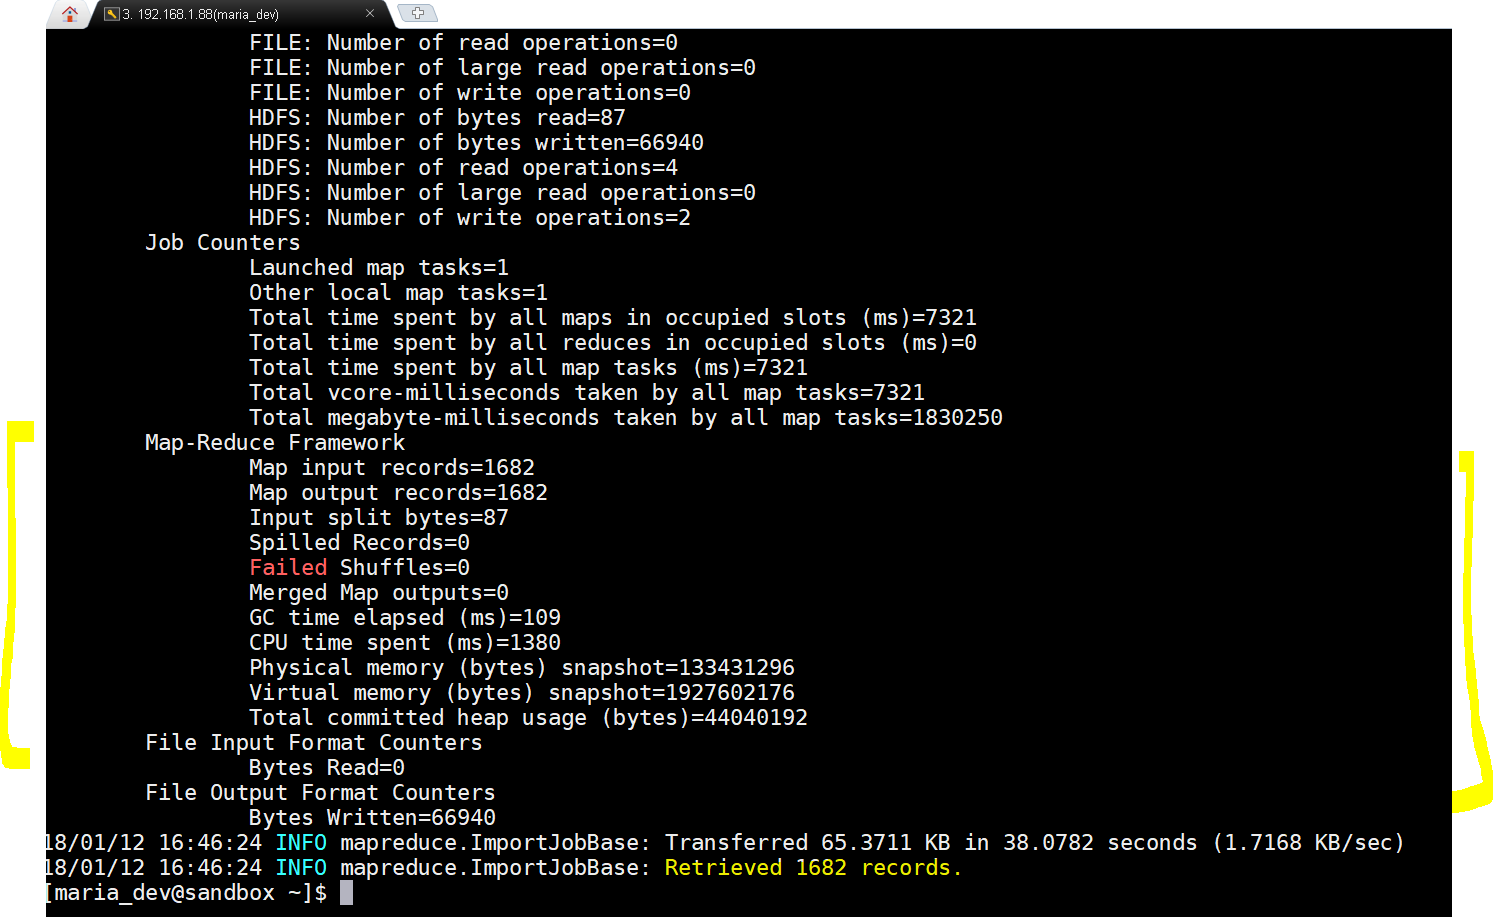
Wow…result is success with 1682 rows imported - Once succeeded we will log into Ambari Files view to see if files have been loaded or not.
-
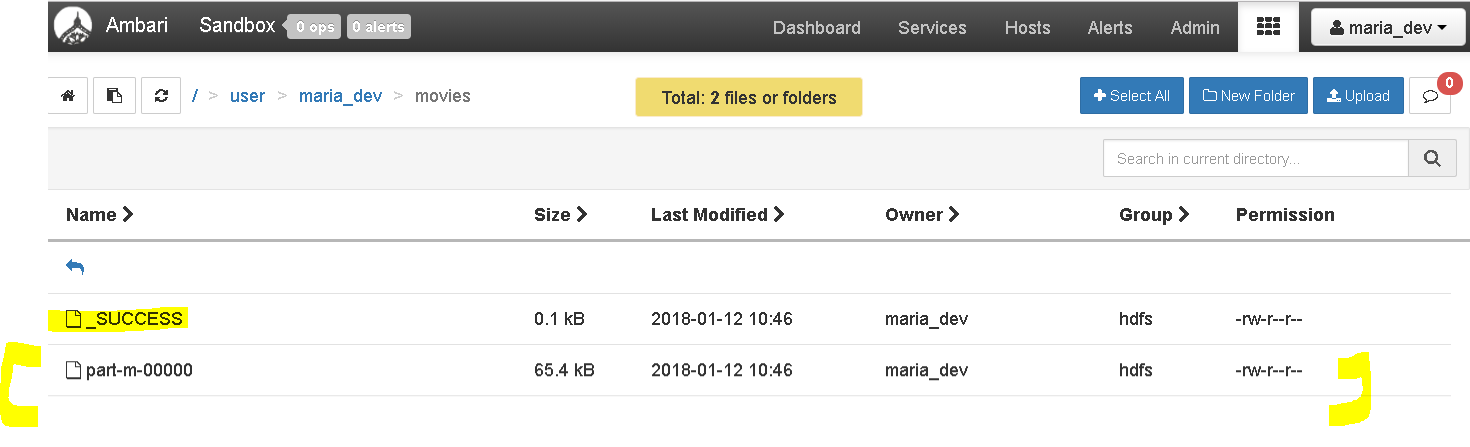
Great, we imported data from MySQL to HDFS
- sqoop import –connect jdbc:mysql://localhost/movielens –driver com.mysql.jdbc.Driver –table moviestab -m 1
- Step 3 : Import Data from MySQL to Hive
- lets see how can we import directly into HIVE.
- sqoop import –connect jdbc:mysql://localhost/movielens –driver com.mysql.jdbc.Driver –table movies -m 1 –hive-import
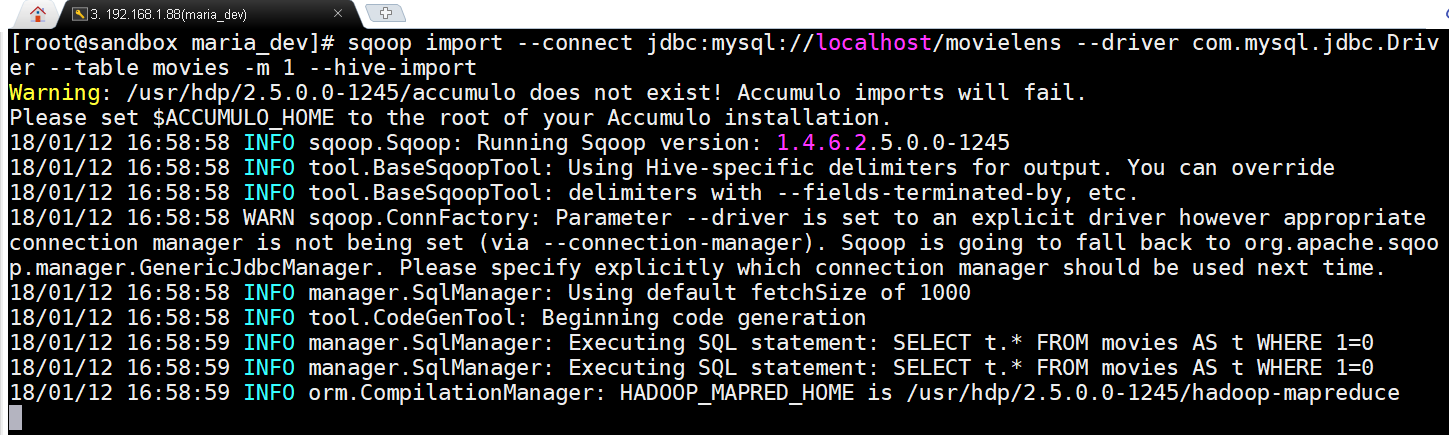
Only difference is that we added a flag –hive-import -
yay!!!, the data is imported directly to hive.
- Step 4: Export Data from Hive to MySQL
- lets do the opposite, export data from HDFS to MySQL
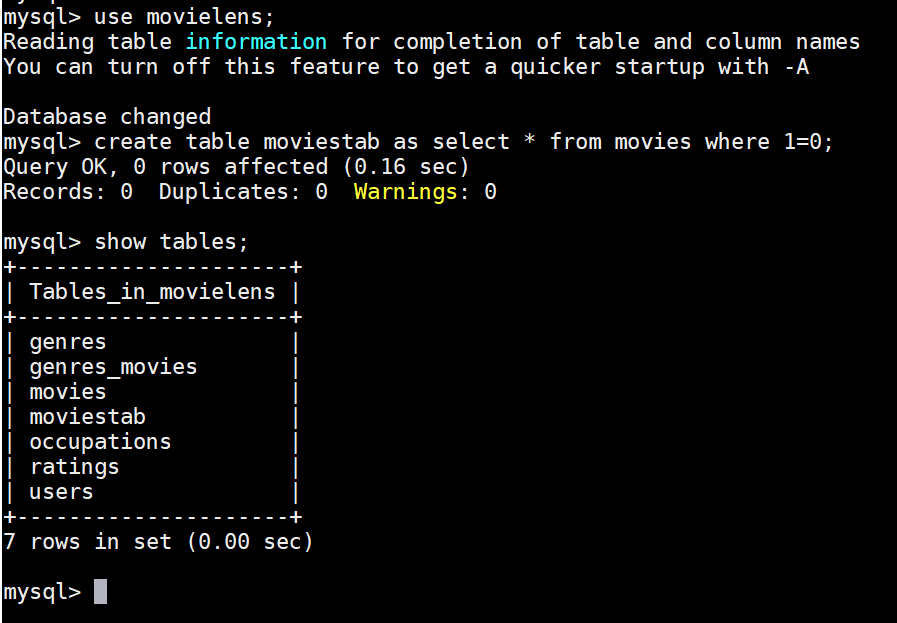
- One pre-conditions is there that the table should be existing in MySQL as Sqoop export does not create tables at destination
- Use this command to create a new empty table from movies table
- create table moviestab as select * from movies where 1=0
- this will create a table moviestab which is empty as condition 1=0 does not return any rows, but definitely copies the structure.
- The command to export data is :
- sqoop export –connect jdbc:mysql://localhost/movielens –driver com.mysql.jdbc.Driver –table moviestab -m 1 –export-dir /apps/hive/warehouse/movies –input-fields-terminated-by ‘\0001’
- See the extra flags –export-dir /apps/hive/warehouse/movies specifies the source and –input-fields-terminated-by ‘\0001’
- lets execute and get results.
-
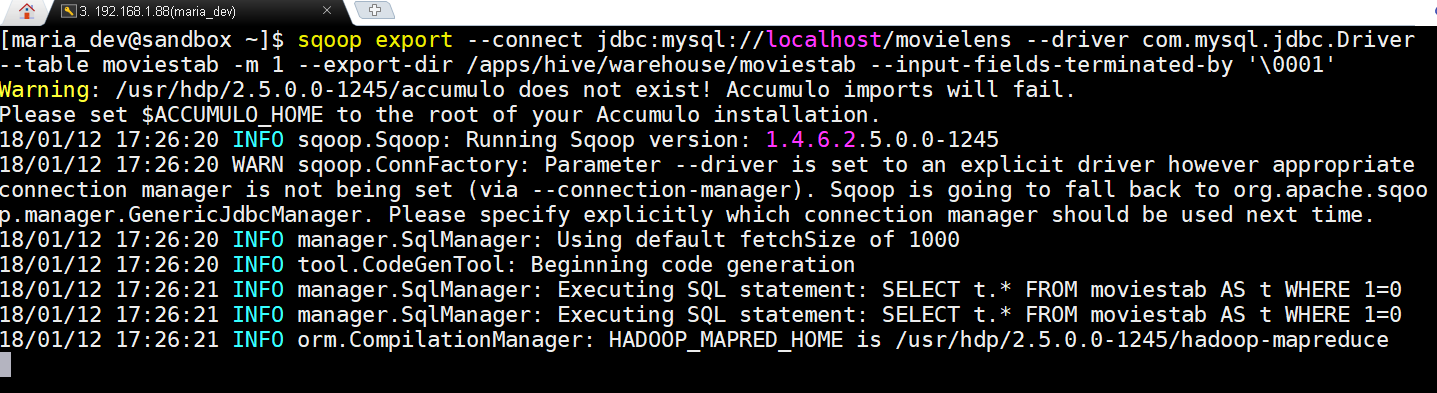
Sqoop export in action -
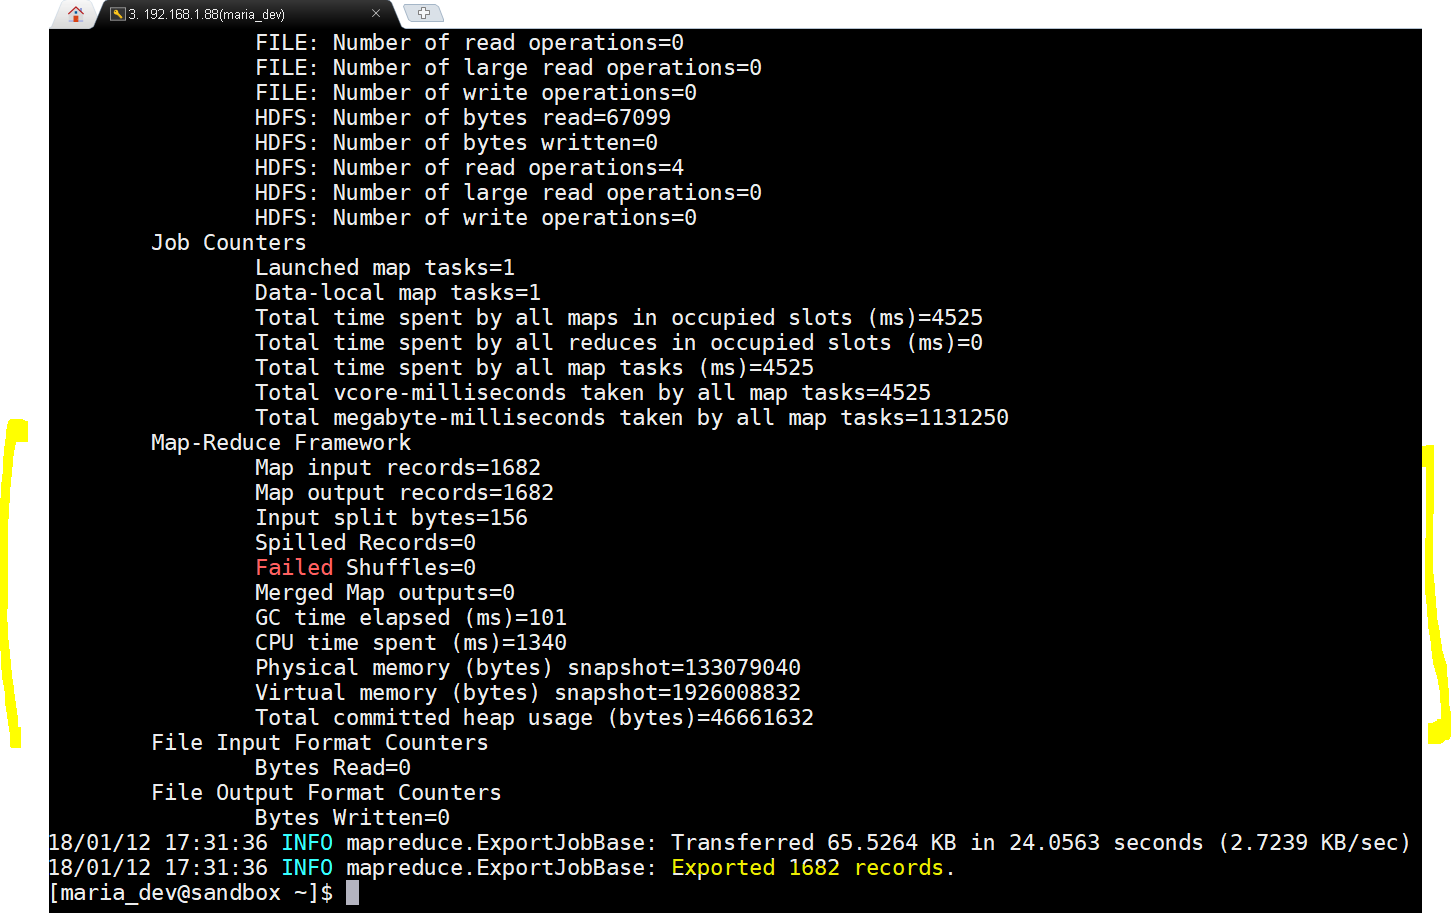
yay!!!, the scoop export succeeded. Lets now check from MySQL. -
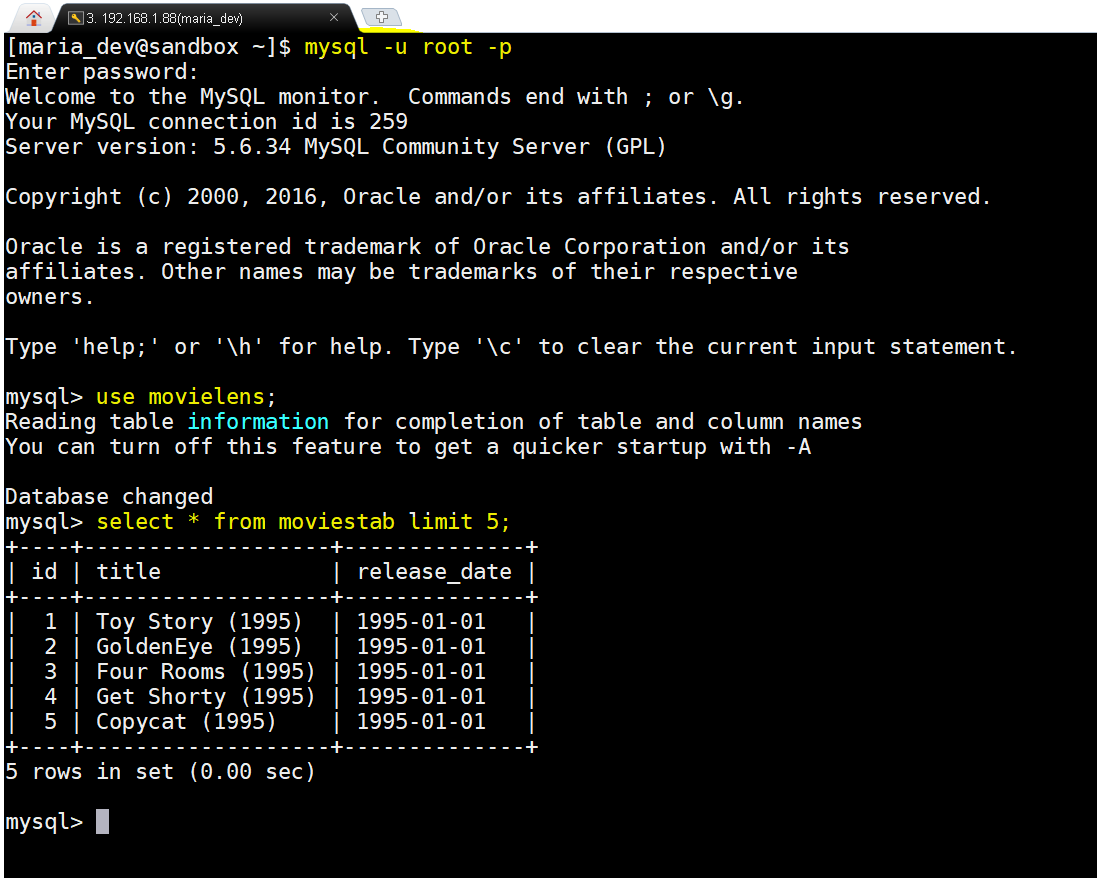
Yay!!!, we succeeded in exporting data from HDFS back to SQL into a newly created empty table movietab and select 5 rows to verify. - Hope this all helped you.
Exchanging Data between MySQL and Hadoop Using Sqoop Import and Export
